








I’m so tired of seeing those “gourmet” cooking videos that make you feel like you need a sous-chef and a chemistry degree just to get dinner on the table. Honestly, if I see one more influencer claim that you need a specialized herb-infused brine and a $200 cast-iron skillet to figure out how to cook chicken breast, I might actually lose it. Most of that stuff is just performative cooking designed to sell you gadgets you don’t need. In my experience, the struggle isn’t a lack of fancy equipment; it’s usually just a lack of a reliable, repeatable method that doesn’t leave you chewing on something that feels like a literal piece of drywall.
I’m not here to give you a lecture or a list of twenty ingredients you’ll never use again. Instead, I want to share the no-nonsense framework I use when I’m rushing through a busy Tuesday night and just need a decent meal. We’re going to focus on the small, practical adjustments—like temperature control and resting time—that actually make a difference. My goal is to help you master a simple, fail-proof technique so you can stop stressing about dinner and get back to your actual life.
Table of Contents
Simple Pan Seared Chicken Breast Method for Busy Weeknights
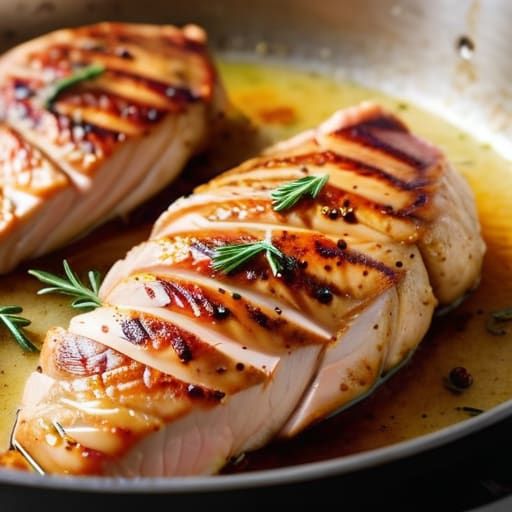
Look, I know the feeling. It’s 6:30 PM, you’re staring at a pile of laundry, and the last thing you want to do is a complex culinary production. This is where my go-to pan-seared chicken breast method comes in. It’s fast, requires minimal cleanup, and—most importantly—it actually tastes like real food rather than something pulled from a freezer bag. The secret isn’t some expensive cast iron skillet; it’s just about managing your heat and not overthinking it.
First, pat that chicken bone-dry with paper towels. I know it sounds extra, but moisture is the enemy of a good crust. While you’re at it, don’t be afraid to experiment with some simple chicken breast seasoning ideas like smoked paprika, garlic powder, and a heavy pinch of salt. Once it hits a hot, lightly oiled pan, leave it alone. Resist the urge to poke it every thirty seconds.
The real game-changer for preventing dry chicken breast is knowing exactly when to pull it off the heat. Don’t guess. If you have a digital meat thermometer, use it to check the internal temperature for chicken—aim for 165°F (74°C), but pull it at 160°F and let it rest. That tiny bit of carryover cooking is what keeps everything juicy.
The Only Internal Temperature for Chicken That Actually Matters
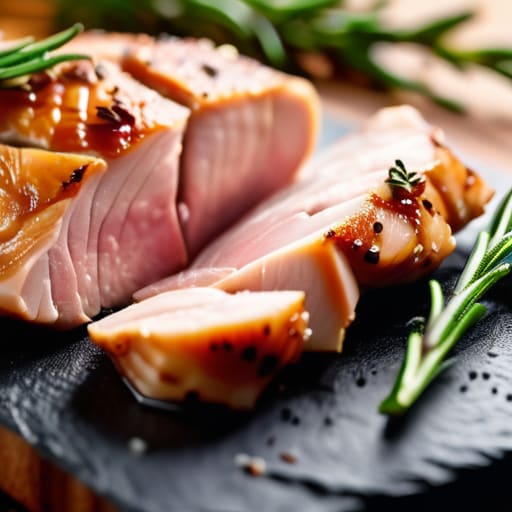
Look, I know the instinct is to keep cooking until the meat looks opaque and firm, but that is exactly how you end up with something that feels like chewing on a literal sponge. If you want to master preventing dry chicken breast, you have to stop guessing and start trusting a meat thermometer. It’s the one piece of gear that actually pays for itself in saved groceries and avoided frustration.
The magic number you’re looking for is 165°F (74°C). However, here is my little professional secret: pull the chicken off the heat when it hits 160°F. Because of something called carryover cooking, the temperature will continue to rise a few degrees while the meat rests on your plate. If you wait until it hits 165°F in the pan, it’ll likely coast up to 170°F by the time you actually bite into it, and that is when the magic disappears. Just hit that 160°F mark, let it sit for five minutes, and you’ll have a result that’s actually juicy.
Five Little Things That Save My Chicken (and My Sanity)
- Pat that chicken dry with paper towels before it hits the pan. I know it feels like an extra step when you’re already rushing through dinner, but if the surface is damp, you’re just steaming it instead of getting that golden-brown crust we’re actually after.
- Stop trying to cook one giant, uneven slab. If your chicken breast looks like a mountain on one side and a valley on the other, take a minute to pound it to an even thickness with a heavy skillet or even a rolling pin. It ensures the thin end doesn’t turn into rubber while you wait for the thick part to cook.
- Let it rest. This is the hardest part when you’re hungry, but if you slice into it the second it leaves the heat, all those juices are just going to run all over your plate. Give it five minutes to settle so the moisture actually stays inside the meat.
- Don’t crowd the pan. If you’re trying to cook four breasts at once in a small skillet, you’re going to end up with a sad, grey mess. Cook in batches if you have to; giving each piece some breathing room is the only way to get a proper sear.
- Season it early. Don’t just sprinkle salt on right before it hits the oil. If you have the time, salt it about fifteen minutes beforehand. It helps the seasoning penetrate a bit deeper and makes the whole thing taste less like “plain boiled meat” and more like an actual meal.
Making it Part of Your Routine
Look, I know that after a long day of back-to-back meetings or navigating a chaotic commute, the last thing you want to do is perform a high-stakes science experiment in your kitchen. But once you strip away the noise, it really comes down to two things: a quick pan-sear and trusting your thermometer. You don’t need a culinary degree or a kitchen full of expensive gadgets to get this right. By mastering the temperature and keeping your technique simple, you stop guessing and start actually enjoying your dinner. It’s about removing the friction from your evening so you can spend less time hovering over a stove and more time actually relaxing.
At the end of the day, my goal isn’t to turn you into a gourmet chef; it’s to help you build a toolkit of skills that make your life feel a little more manageable. Cooking a decent meal shouldn’t feel like another chore on your endless to-do list. It’s just one more small, repeatable habit that keeps you fueled and saves you a ridiculous amount of money on takeout. So, grab your skillet, trust the process, and remember that progress is better than perfection. You’ve got this, and your future, well-fed self will definitely thank you.
Frequently Asked Questions
How do I keep the chicken from getting tough or rubbery if I accidentally leave it in the pan a minute too long?
Look, we’ve all been there—staring at a timer while finishing an email and realizing the chicken has been sitting for an extra sixty seconds. If you notice it’s getting a bit tight, the best move is to pull it off the heat immediately and let it rest on a cutting board. Don’t try to “fix” it with more heat. Just slice it thin against the grain and hit it with a little extra moisture, like a splash of chicken broth or a squeeze of lemon. It won’t be perfect, but it’ll be edible.
Is it actually worth the effort to brine my chicken, or is that just more "foodie" fluff I don't have time for?
Look, I get it. Between managing operations and trying to keep my fermentation jars from exploding, I don’t have time for unnecessary steps. But here’s the truth: brining isn’t just “foodie fluff.” If you’re prone to overcooking your chicken (we’ve all been there), a quick 15-minute salt water soak is a total lifesaver. It’s a small, repeatable habit that builds a massive safety net for flavor and moisture. It’s worth the extra five minutes, I promise.
Can I use frozen chicken breasts for this method, or am I going to end up with a soggy mess?
You can, but honestly? If you want to avoid that soggy, sad texture, don’t throw them straight into the pan. I’ve made that mistake too many times during a frantic Tuesday night. My rule of thumb: thaw them in a bowl of cool water first. It’s faster than the fridge but much safer than the microwave. Just make sure you pat them bone-dry with paper towels before they hit the oil. Trust me on this one.